Getting Started with the Media Module
Accessing the Media module
To access the Media module, sign in to Video Cloud Studio and open the Media module.
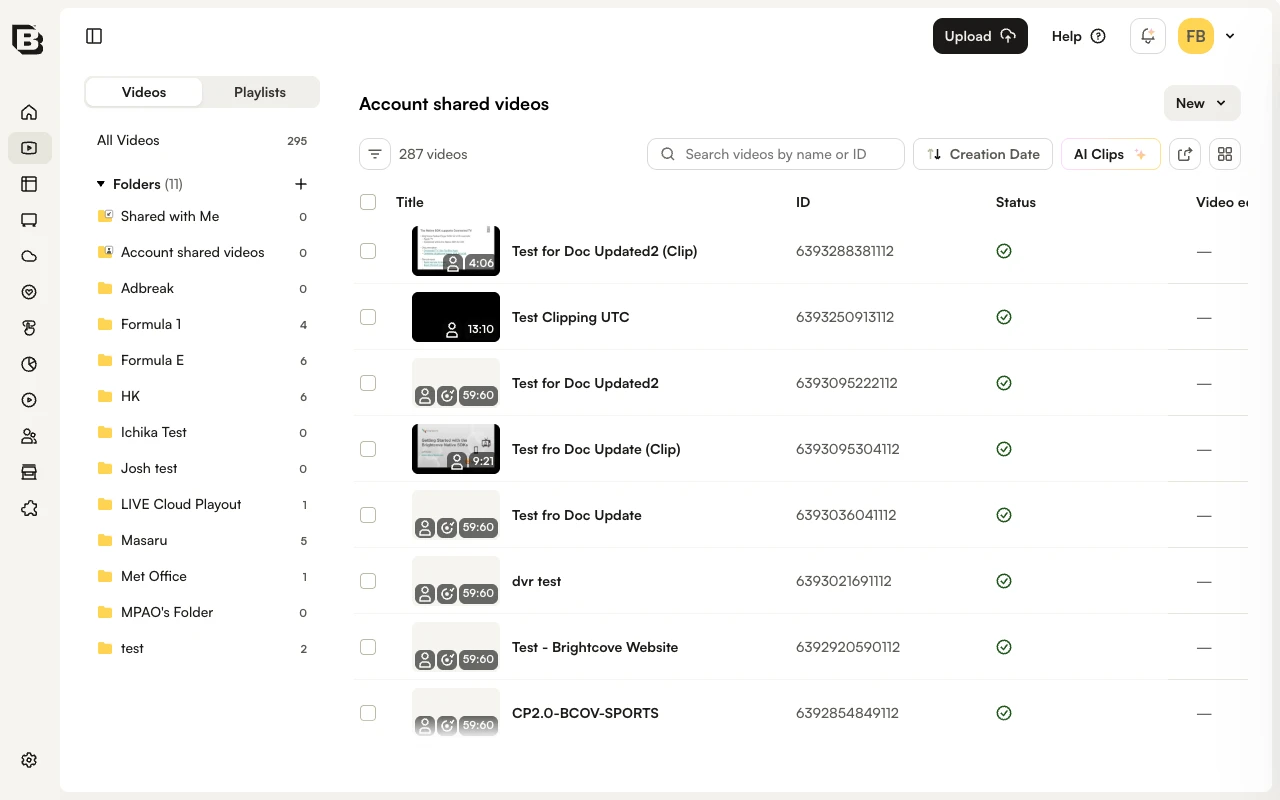
The Media module opens on the Videos tab. Switch to Playlists using the tab at the top of the page.
For each video, the list displays:
- Video thumbnail with duration overlay
- Title
- ID - system-assigned video ID (unique across all Video Cloud accounts)
- Status - a green check icon indicates the video has finished processing; a spinner indicates the video is still processing
- Reference ID
- Date created - with the user who created the video
- Date modified - with the user who last updated the video
Additional columns can be surfaced by using filters from the filter panel. Click the filter icon above the video list to open the panel.
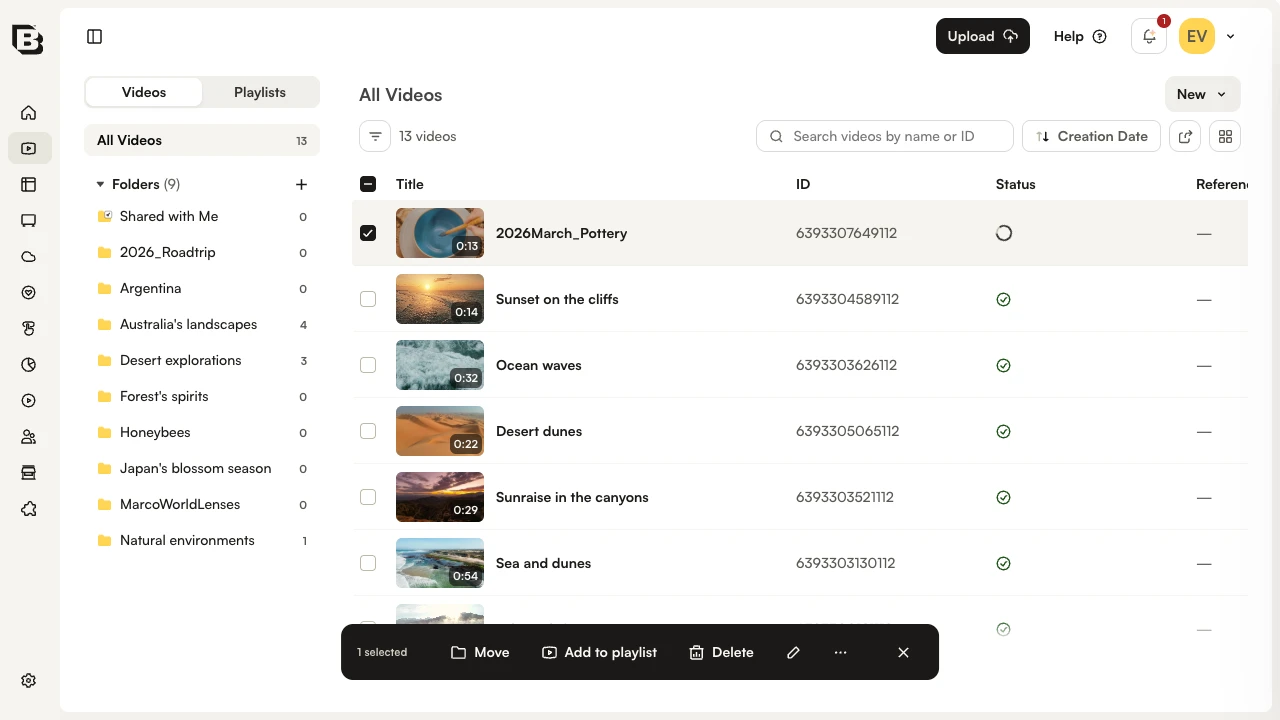
Select multiple videos by clicking a checkbox and shift-clicking another checkbox. Sort the list by clicking any column header. The Media module uses a "sticky" sort and remembers the last sort selection between sessions.
Created and updated date and time information
The Date created and Date modified columns display both the timestamp and the user who performed the action. If the action was taken via the CMS API, Updated by API will be displayed. Note that if a user who performed an action is removed from an account, their ID will still appear.
There are cases where changes made to a video will not record a user ID and cases where a user ID may not be displayed:
- When a video is retranscoded or if the video source is replaced, the updated date for the video will be updated but the user who initiated the action will not be recorded
- When the images (poster/thumbnail) and/or text tracks are updated, the updated date for the video will be updated but the user who initiated the action will not be recorded
- When a video is shared to an affiliate account, the created date will not display an associated user ID
- When a video clip is created using the Social or Live modules, the created date will not display an associated user ID
This feature was enabled on December 7, 2018. Any videos uploaded or edited after this date will display user information.
Folders panel
The Folders panel on the left side of the Media module lists All Videos, Shared with Me, and each folder in the account with its video count. Click a folder to filter the list to only its videos.
Use the toggle button at the top-left of the page to hide or show the Folders panel. For more information on folders, see Organizing Videos Using Folders.
Editing video properties
To edit the video properties, click the video title to open the video details page. See Editing Video Properties with the Media Module for information on editing video properties. To edit properties for multiple videos at the same time, select the videos in the list and click the edit icon on the bulk-action bar to open Quick Edit.
Deleting videos
To delete videos, select the checkboxes next to the videos to delete. The bulk-action bar will appear at the bottom of the page. Click Delete on the bulk-action bar.
Confirm the deletion in the dialog by clicking Delete.
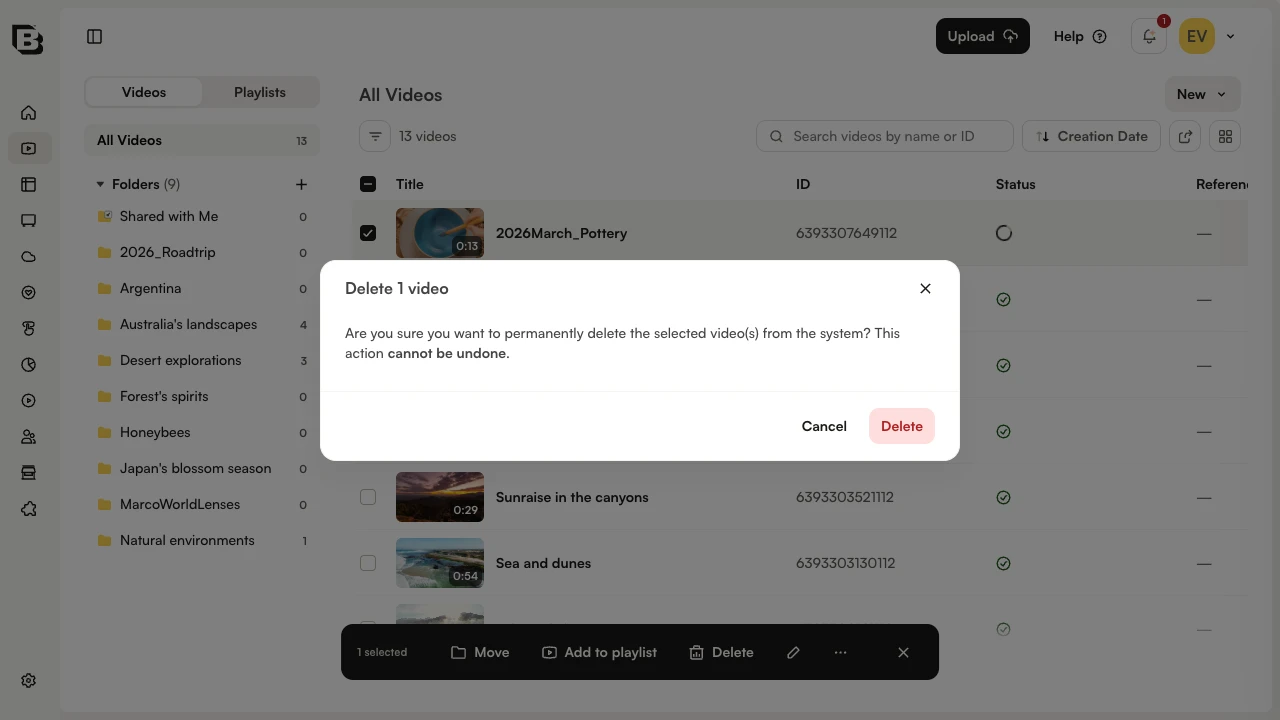
If a video has been added to any manual playlists, the confirmation will indicate this before the delete completes. To see which manual playlists the video is in, click the video title to open the video details page and expand the Information section.
Uploading videos
Click Upload in the top bar to open the upload dialog. The same dialog also opens from New > Upload Videos in the Media list toolbar. For more information, see Uploading Videos.
Adding videos to folders
Videos can be added to folders to help organize content. For more information on working with folders, see Organizing Videos Using Folders.
Adding remote videos
With remote videos, you maintain your video files on your own or a third-party system and then provide Video Cloud with the URL of the video files. Open the New dropdown in the Media list toolbar and choose Add Remote Videos. For more information, see Working with Remote Asset Videos.
Adding videos to playlists
Playlists can be created to group related video content. For more information on working with playlists, see Creating and Managing Playlists.
Publishing videos and playlists
Videos can be published to different destinations. Select one or more videos in the list and open the More actions menu on the bulk-action bar, or open the video details page and use its More actions menu. The available destinations are:
- Web Player - Provides a URL to the video or generates the publishing code that can be added to a web page or application
- Email Landing Page - Embeds the video poster image into an email that, when clicked, opens the video in a browser tab
- Social Networks - Opens Brightcove Social in a new browser tab to publish the video
- Gallery In-Page Experience - Creates a new in-page experience using Brightcove Gallery
Sharing videos to other accounts
Media sharing allows publishers to upload videos once and then share the videos to other accounts. The accounts can be your own, corporate accounts or accounts of other publishers. For more information on sharing videos to other accounts, see Media Sharing using the Media Module.
Exporting video data
The Media module provides the ability to export video metadata for all of your videos or a subset of videos to a .csv file. Use the export icon in the toolbar above the video list. For more information, see Exporting Video Data.
Searching for videos
The search field above the video list can be used to search the videos in your account by name or ID. To refine the results further, click the filter icon to the left of the video count and choose a filter category (Core, Plays, Availability, Advanced). For more information, see Media Module Search.
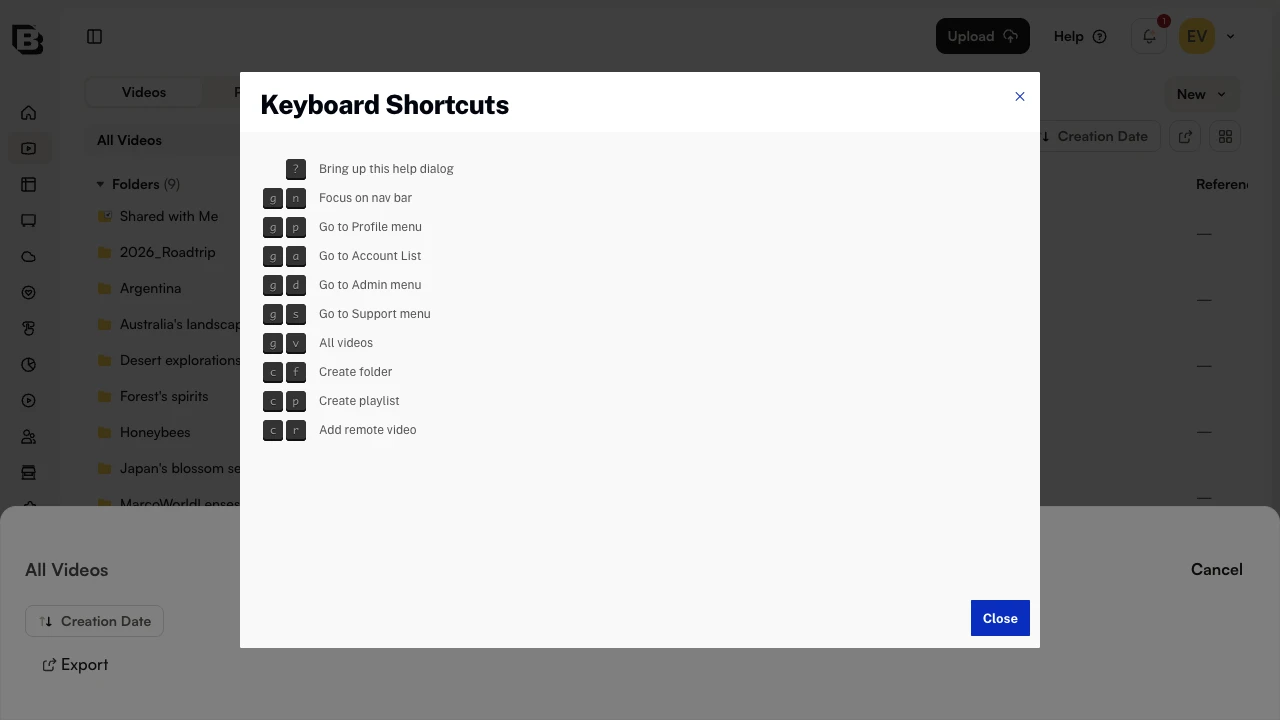
Keyboard shortcuts
Press the ? key anywhere in Video Cloud Studio to open a list of the available keyboard shortcuts.